Friday 31 January 2014

Disneyland Adventures Printers Tray by Kerrie Gurney

Hi Kerrie here, can you believe January is over all ready ...

For my Design Team project I created this printers tray using photos from my recent trip to Disneyland after CHA.
I had a fabulous time visiting Disneyland for the very first time and met lots of Disney characters, these are some of my favourite photos.

I have had this tray for some years and I don't stick the cards to the tray so I can remove them when I want to have a change and that way I can pop them in a pocket page and straight  into my album.


I used  6x6 patterned paper for all backgrounds, cutting each background to 4" x 6"
I printed all my photos straight from my phone using my Polaroid GL10 printer, I so love this printer.

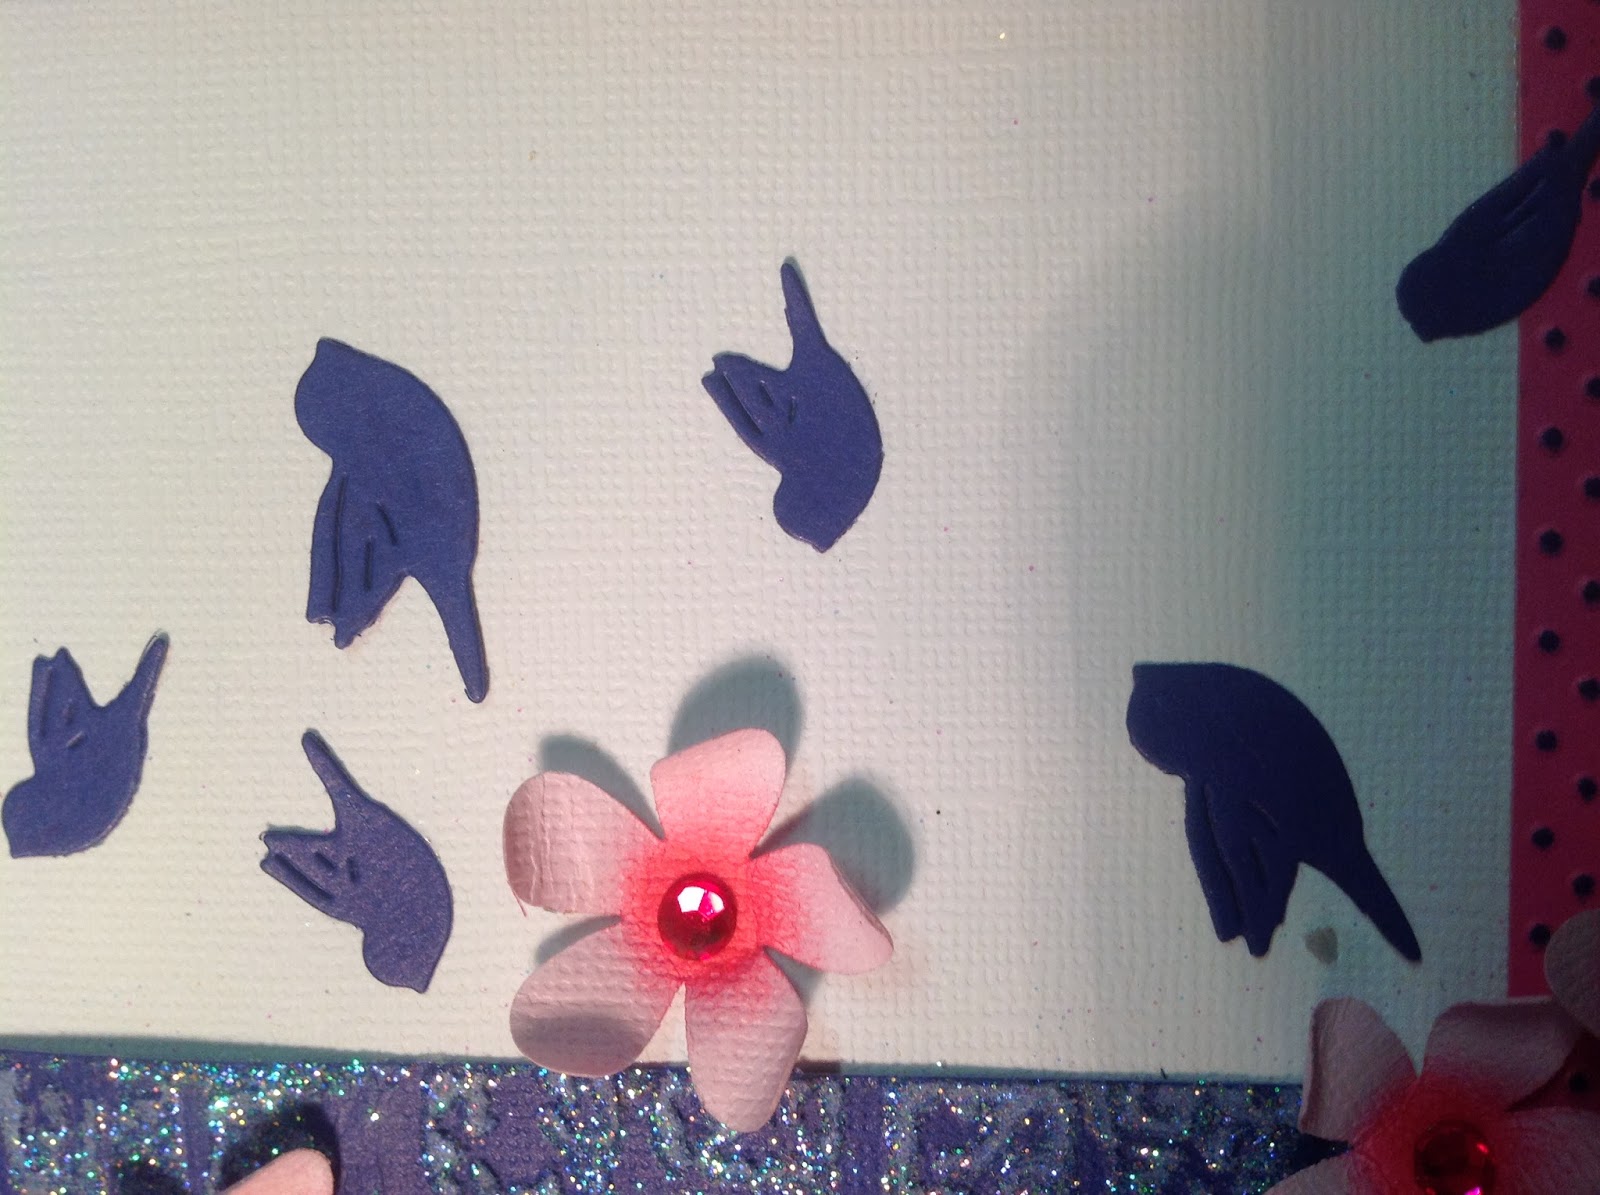
I cut 6 x 3.5" x 5"  pieces of white Core'dinations cardstock to mount all my photos and then embellished each card using a selection of dies and flat embellishments. 
I embossed and sanded 4 of the base patterned papers to add some interest to my cards, this keeps them flat enough for pocket pages but makes them less boring :)
Distress the edges of all bases using the edge of non stick scissors
 
*Tip when using an A2 folder after running your patterned paper through the machine match up your pattern with the other end and only run the end that needs embossing through the machine.


here is a look at all the cards individually


When placing double sided tape to back of Classic Chevron die cuts, use the 3mm tape as it is easy to manipulate into the chevron pattern 


I die cut 3x Party Banners to add to printers tray after placing all cards into their places.


Couture Creations Products Used


Don't forget to LIKE Couture Creations on Facebook


Take care and happy creating
 
http://kerriegurney.blogspot.com.au/


Thursday 30 January 2014

Not without my Mickey by Tracey Cooley

Hi Creators
My youngest daughter has just started Primary school so it reminded me that I had not created a layout for her first day of Kindy. I remember this day very well as I tried my hardest not to get upset when I dropped her off but alas, I am a sook and blubbered all the way home... She was so little...her favourite toy was Mickey Mouse at the time and she was so excited to go to kindy but
NOT WITHOUT HER MICKEY.

 
I am loving the new Secret Treasures and Madeline ranges of dies and the Harmony emboss folders that have come out this month!!! Here is a couple of ideas on how to use them.
 
 
A great way to add a mat to your lace die is to trace around the edge of the die itself and then cut out with a pair of Couture Creations Precision Scissors.

 
then cut out your lace die in an alternate colour, I have used the Couture Creations Madeline Collection Les Fleurs Ornamental Lace Die.


The Couture Creations Circle Nesting dies are just perfect for making a silhouette of Mickey Mouse. Simply cut one large circle and 2 small and voila! Add a bow to turn Mickey into Minnie.
 
 
Flowers: cut 3 large Couture Creations Secret Treasures Retro Flower and 4 med. Ink edges if desired. Spritz with water and press centre into a mouse pad or moulding pad ( I used a sharpie for the large flower and a paintbrush handle for the small).

 
 Once dry pinch each petal to give a 3D effect. Next adhere layers alternately to form entire blossom.


Leave the larger petals off to make smaller blossom. To make your flowers a little more special spray with spray adhesive and sprinkle with glitter... if desired add a Couture Creation Adhesive Gemstone to finish off the centre.
 
 
I seem to use a certain size of my Couture Creations Adhesive Gemstones more than the others, so I have found a great way to use your left over Gemstones is to make your own Bling flourish... simply draw a flourish, freehand or with a stencil and add your gems.. These look great in mixed colours too.
 
Keep on Creating!
 
Couture Creations Products Used
CO723524 Secret Treasures Die Retro Flowers
CO723552 Secret Treasures Die Bird Song
CO723517 Secret Treasures Die Party Banner
CO723527 Secret Treasures Die Classic Chevron
CO723534 Secret Treasures Die Square Plaque
CO723243 Madeline Lace Die Les Fleurs
CO723635 Harmony Emboss Folder Journal Cards
CO721984 Double Sided Tape 12mm
CO721961 Foam Tape 12mm
CO721994 Adhesive Gemstones Pink Diva
CO723040 Nesting Dies Circle

https://www.facebook.com/couture.creations.aus

http://jordayla.blogspot.com.au/

Wednesday 29 January 2014

Beach Babe by Lesa Bird

Hi everyone, nice to see you back in 2014.
 Couture Creations has a lot of new dies and folders coming out this year, and today I'm having a play with the some of new The Harmony collection of embossing folders and Secret Treasure decorative dies

So here we go

This is the Sketch that I created for this project


Emboss one of the background cardstock using Couture Creations Harmony Zig Zag Embossing Folder, and roughly sand with the Couture Creations Sanding Block, ink all edges with Couture Creations Sponge Dauber


The second background cardstock emboss with Couture Creations Harmony Clay Brick Embossing Folder, now using a brayer, roll over the embossed surface with glue and sprinkle glitter over it, shake off excess


Take both strips of cardstock and Emboss with Couture Creations Harmony Fine Dots Embossing Folder, run a hard surface ink pad over it, to enhance embossing, fancy it up a little with and edge punch


Using the Couture Creations Secret Treasures Reto Flower, cut out 12 or so of the middle size flower, brush the centre for each flower with ink, roll forward one side of each petal, and then bend each petal up to the centre, place one Couture Creations Gemstone in the middle of each flower.


Cut out several Couture Creations Bird Song Dies, to scatter on your page.


Finish off by adding a flourish or two, some more bling, your title, arange all your elements to suit your layout  and your done.

Have fun


Couture Creations product used;
CO721957   Self healing 15x15 Mat
CO721965   18mm Double sided tape
CO721983   3mm Double Sised Tape
CO721964    6mm Foam Tape
CO723039   Precision Trimmer
CO723061   Sponge Dauber
CO723060   Sanding Block


Stay Safe and Enjoy Your Day

https://www.facebook.com/couture.creations.aus


Tuesday 28 January 2014

New Baby Set by Sue Smyth


Nothing says baby more than a cut rocking horse, so creating a card and pick is a 
snap with the Secret Treasures Rocking horse die.
Insert the pick into flowers or as a present topper.


Rocking horse step by step


Paint die cut Rocking horse with Glitz n Glamour Hot pink


Drench the horse with white glitter to fill the gaps and create a smooth surface.


shake off excess glitter and allow to dry.


Tattered bow

tie a bow with organza or silk ribbon 


Hold in place with a bamboo skewer and heat set 


Die cut 6 petals with smallest Retro die flower
 from pink cardstock. Pierce a hole in the centre of each


Insert a small brad and splay flowers around brad.


Wet flower and scrunch with fingertips. Unfurl and heat set to hold
in shape.
Emboss white cardstock  with Cheerful Embossing folder and rub over with chalk pad.
 
Assemble card and pick as pictured.


Couture Creations Products Used
 
 
https://www.facebook.com/couture.creations.aus


Monday 27 January 2014

Vintage Shabby Chic Card by Cathi O'Neill


Hi! Cathi here! This week I wanted to use some of my gorgeous glimmer cardstock to make a shabby vntage card with my new embossing folders and dies released at CHA!! I had the most amazing time visiting CHA this year and working one afternoon at the Couture Creations stand. Was great to get to meet some of the Australian DT in person!! I have a  few layouts planned for February with the new Secret Treasures releases, so many beautiful designs!!!!


To start my card I used a base of green glimmer cardstock and emboss it with the beautiful Asian Wave embossing folder.


Next I layer my card with the beautiful Madeline Les Fleurs Die. In the cut out center of the die cut I added a beautiful vintage image of a woman I had.


I add some yummy keys from the Madeline Keys to My Heart Die.


I antiqued my card I used a very simple technique of adding gesso. It highlighted the raised edges of the embossed pattern, and when I coated the edges and random spots on the doily and key die cuts it added a really antiqued peeling whitewash paint effect to card, I just love how effective it looks!


To finish off the card I added a vintage seam binding double bow on the keys and some Couture Creations Self Adhesive Pearls on the doily. Simply done, but very textured and elegant effect.

Thanks so much for visiting today, I hope you like the project!!