AdhesiveChristmas CollectionDecorative DiesDesign Team 2014Embossing FoldersGlitzin' Glamour Glitter GlueKerrie GurneyPatterned PaperspearlsScrapbookingToolsVintage RoseVintage Rose Garden
Together by Kerrie Gurney
#couturecreationsaus
Hi everyone it's Kerrie here
It is my turn again on the Couture Creations Blog
and I am just loving the new Vintage Rose Garden Patterned Papers, they are so soft and pretty.
Seeing today is my 50th ..yes 50th Birthday I thought I would scrapbook one of my childhood photos, this is a photo of my brother Shane and I taken in March 1968.
I love this photo of us, we were just too cute.
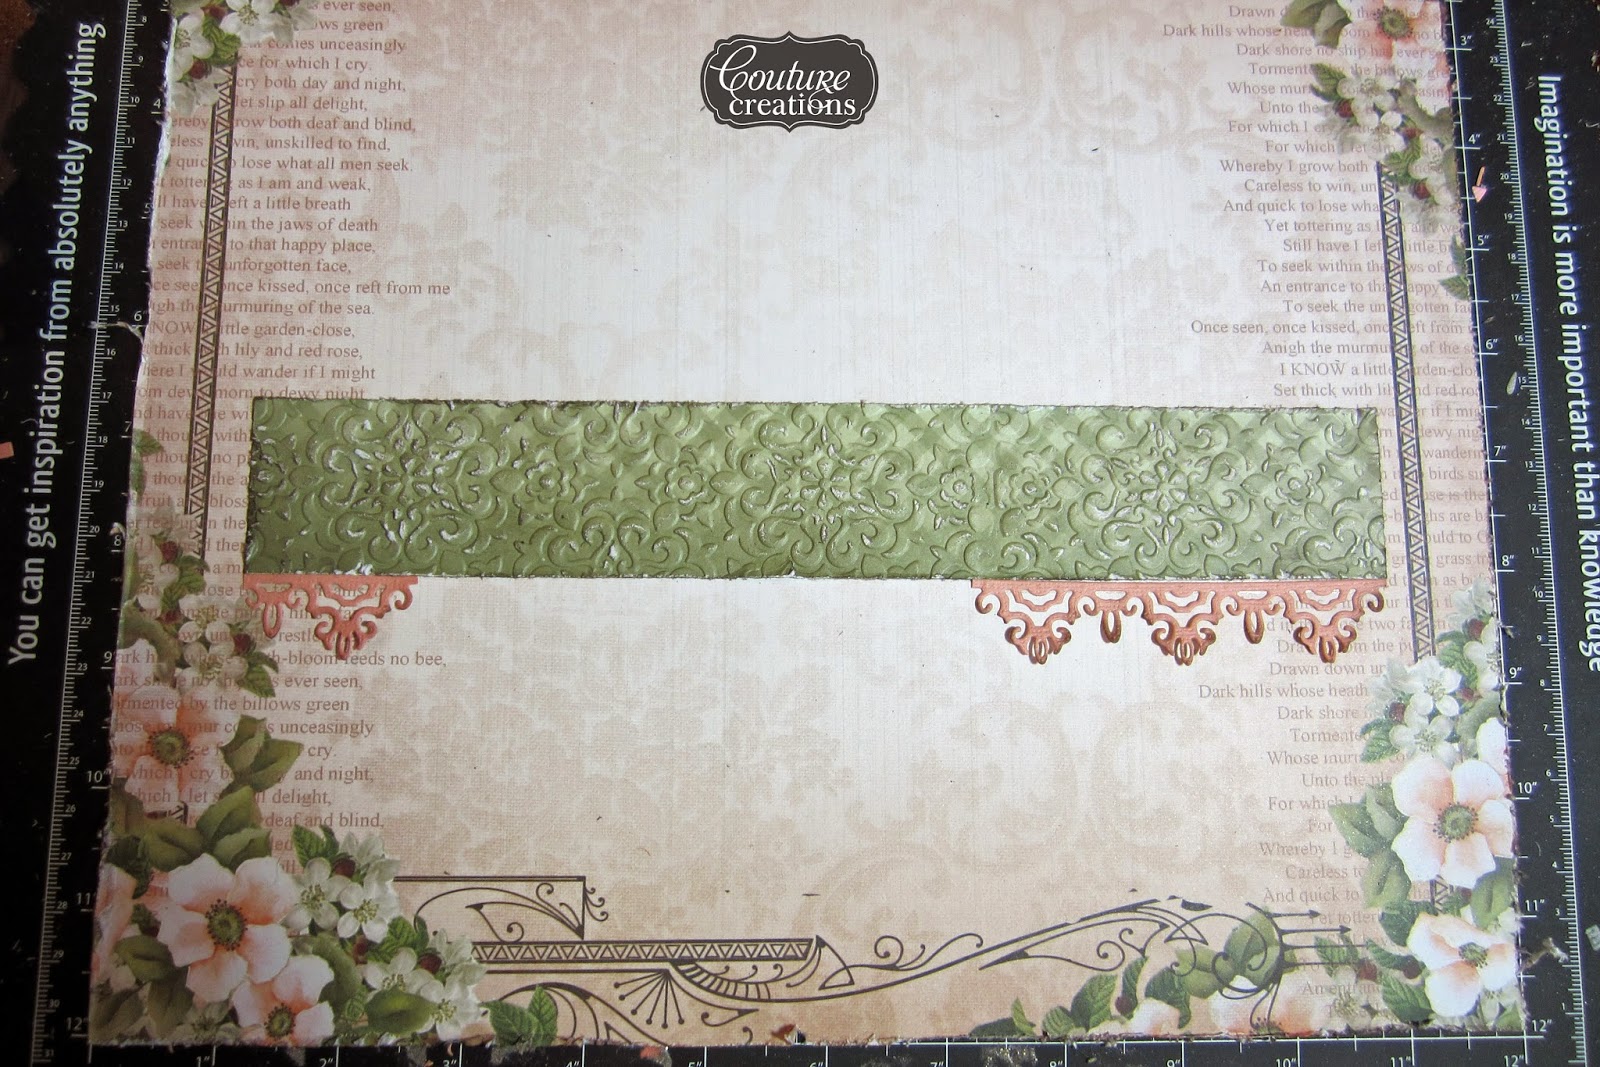
Die cut 2 x Vintage Borders from cardstock
Lightly sand the embossed paper strip
and then ink lightly around edges and on the embossed pattern
Distres the edges of all pieces and then start layering pieces onto the base pattern paper
It is my turn again on the Couture Creations Blog
and I am just loving the new Vintage Rose Garden Patterned Papers, they are so soft and pretty.
Seeing today is my 50th ..yes 50th Birthday I thought I would scrapbook one of my childhood photos, this is a photo of my brother Shane and I taken in March 1968.
I love this photo of us, we were just too cute.
To start die cut from cardstock 1 x Postale Square die using Quick release Die Paper
see how the die lifts straight off when you use Quick Release Die Paper
Cut the die in half
adhere to the top and bottom of 4"x 6" photo using double sided tape
you want the top is hanging over the top of photo
Die cut 2 x Vintage Borders from cardstock
Cut a strip of gingham patterned paper 5cm wide x 20cm long and emboss
pop the strip through the slot in the top of the embossing folder and emboss the full strip.
I love that this Christmas embossing folder is so versatile and can be used for any occasion
Die Cut 2 x Vintage Branch dies from patterned paper and 1 x Daffodil Spray Die from cardstock
Ink the edges using a sponge dauber so as to not overdo the inking
Lightly sand the embossed paper strip
and then ink lightly around edges and on the embossed pattern
Distres the edges of all pieces and then start layering pieces onto the base pattern paper
add some pearls to flower centers on base patterned paper
Finish off with some Crystalina Glitzin' Glamour Glitter Glue to flowers on base patterned paper and premade flowers
here is a closer look at the details
Couture Creations Products Used
CO724041 Vintage Rose Decorative Die, Postale Squares
CO724045 Vintage Rose Decorative Die, Vintage Border
CO724047 Vintage Rose Decorative Die, Vintage Branch
CO724049 Vintage Rose Decorative Die, Daffodil Spray
CO723884 Christmas Collection Embossing Folder, Christmas Quilt
CO723992 Vintage Rose Garden Patterned Paper, Frame Of Roses
CO724001 Vintage Rose Garden Patterned Paper, Green Typo
CO721998 Pearls, Moonlight
CO721971 Glitzin' Glamour Glitter Glue, Crystalina
CO723623 Sponge Dauber
CO723060 Sanding Block
CO723818 Quick Release Die Paper
CO721985 6mm Double Sided Adhesive Tape
Don't forget to follow the Couture Creations Blog and also follow Couture Creations on
Facebook, Pinterest, Instagram and Twitter
Happy Creating


7 comments