
AdhesiveAnita EnrightCardsDecorative DiesDesign Team 2015/2016doily diesEmbellishmentsGemstonesLaceMagnolia LaneNesting DiesPaper FlowersPattern PaperpearlsUltimate Crafts
Thank You Card by Anita Enright
#couturecreationsaus #ultimatecrafts
Welcome back Everyone,
Anita here with you on the blog today sharing another creation using the wonderful Magnolia Lane collection. I am slowly building up my card collection again and this one will fit in just nicely :)

1. To start I cut a piece of cardstock in a sand colour into 10" x 7" and folded it in half to create a 5"x7 card base. Using the SWEET MUSIC patterned paper cut a 5"x7" mat and in the BUTTERFLIES AND LACE patterened paper cut a 6" x 3 3/4" mat. Distress the edges of both pieces.


2. Die cut a MAGNOLIA DOILY in white cardstock. Oh my, how I love this die!!!!

3. So that we can see some of the sand colour base from behind the SWEET MUSIC patterned paper ensure that when you attach tape to the reverse do not take the tape right to the edges. This will allow you to manipulate the patterned paper to show some of the sand coloured card base. Once you have attached it use your fingers to stress and roll the edges more.
Check out the next photos.


3. Attach the smaller BUTTERFLIES AND LACE on top of the SWEET MUSIC paper that you have already mounted on to the card front. I then attached a strip of matching lace to the right edge of the patterned paper and attached the doily to the left side snipping any overhang off.


4. Take two of the paper magnolias. For one of them we only want the very centre petals with the centre stamen. I chose a shimmer brown shaded mist and sprayed both the flowers then set them aside to dry.


4. I used some of the Couture Creations VICTORIAN RECTANGLE nesting dies to create the mat for the card sentiment. I die cut base on to some of the bottom edge of the BUTTERFLIES AND LACE patterned paper so that the bottom half had some flowers and the top half had the script writing.
Attach a piece of the White Decorative Lace across the center with some tape or glue, add some foam dots to the back of the tag.
Die cut the Thank You sentiment from the THANK YOU TAG SET and mount on a piece of SWEET MUSIC patterned paper and round the end if you chose.
Glue on the sentiment and mount on to the nesting die with some foam dots.

5. Fussy cut some flowers, leaves and a butterfly.

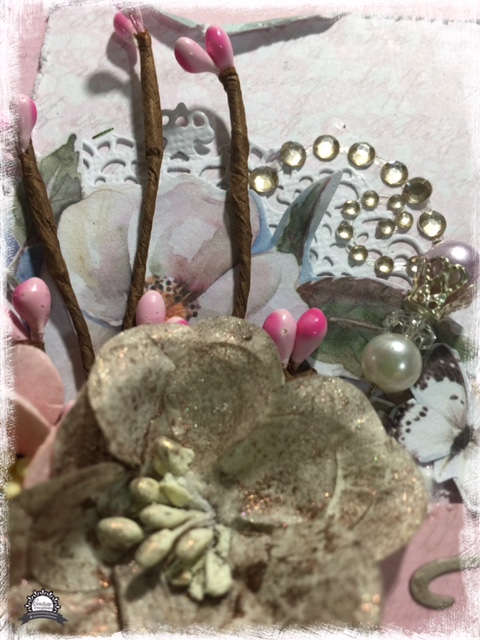
6. Now layer your bits and pieces to construct your card. I added some of the Bling flourishes as well as a couple of extra pink flowers and some stems with pink buds, along with a blinged up hat pin.
I think it came out pretty nice, don't you think.
Below are some closeups of the finished card.


PRODUCTS USED
Thank you so much for stopping by.
I hope you all stay crafty!!
Cheers for now
Anita xx


3 comments